
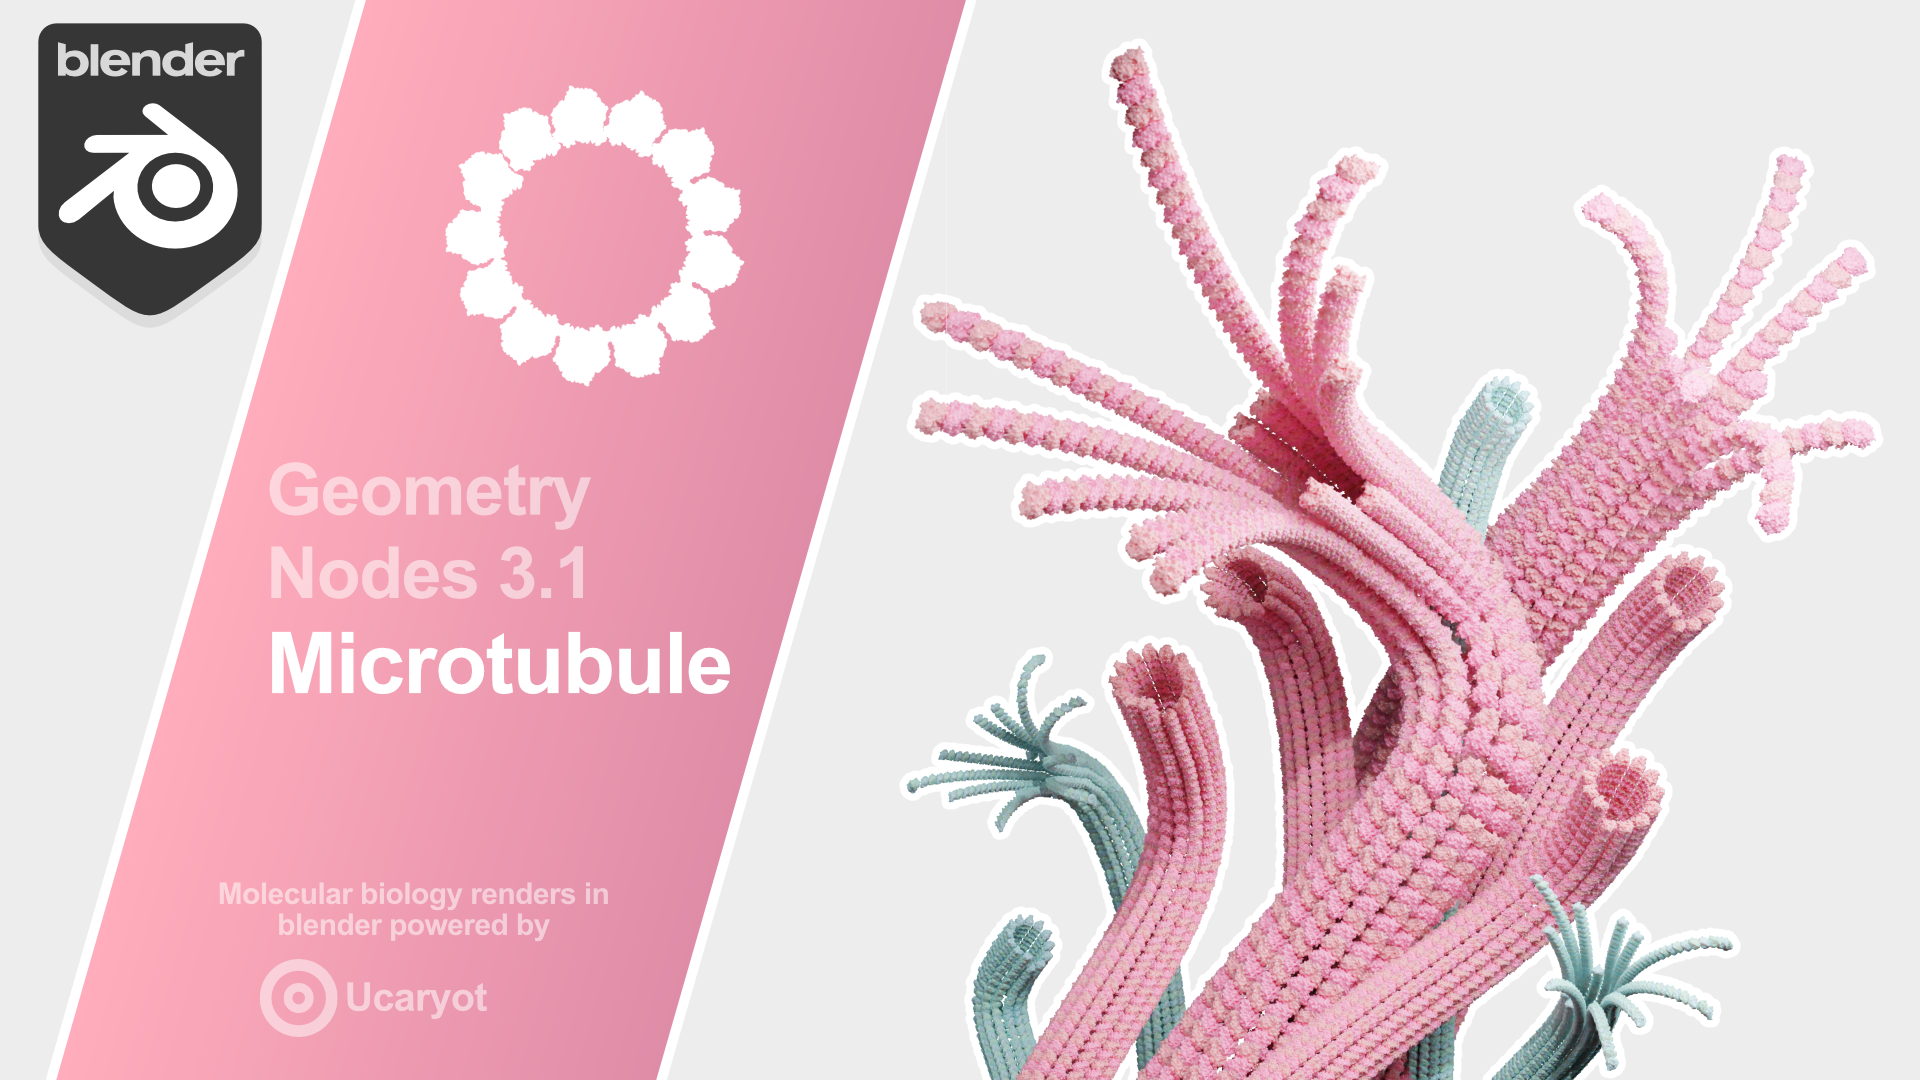
Blender Geometry Nodes Microtubule (3.1 & 3.0)
Blender has recently overhauled its fantastic Geometry Nodes system with the release of blender 3.0. As a microtubule enthusiast, I figured it was a perfect chance to make a procedural microtubule generator.
All you need to know is covered in the showcase video.
Procedural Microtubule Blender 3.1 Geometry Nodes
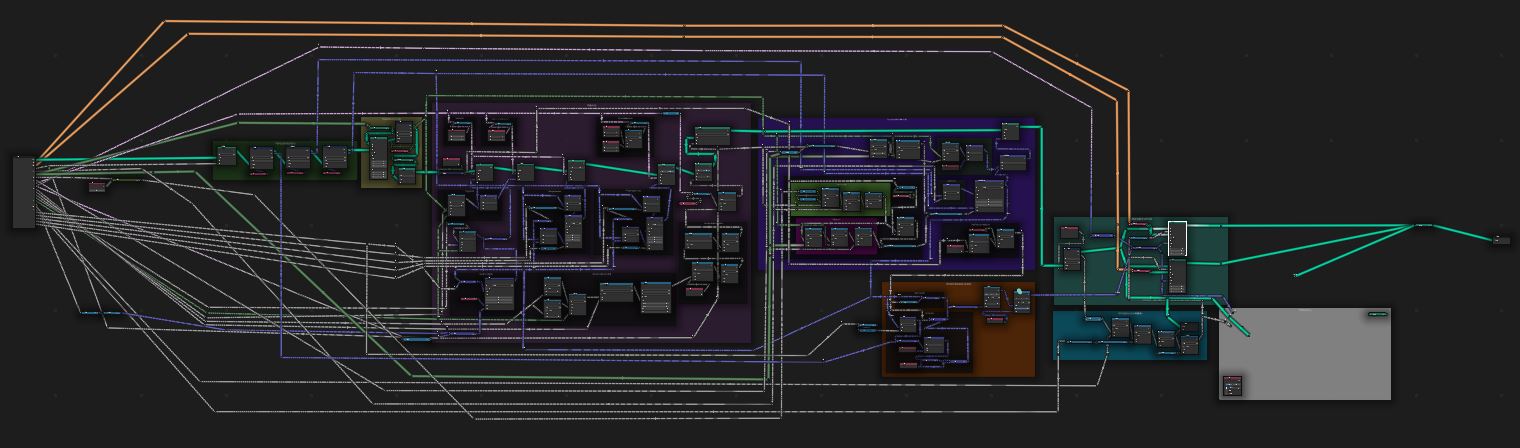
Nodes setup at a glance
The easiest way to have a look at the nodes is to simply download the asset file or watch the showcase video. Alternatively, you can get the general gist of it from the images below.
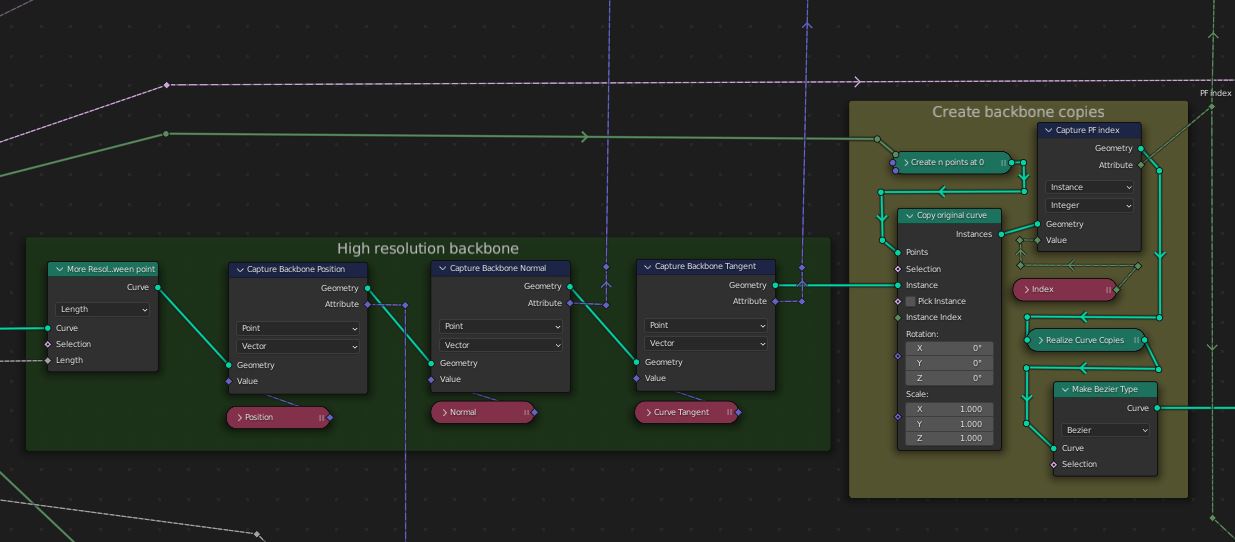
We start by sampling the backbone in higher resolution, and capturing some attributes for later use.
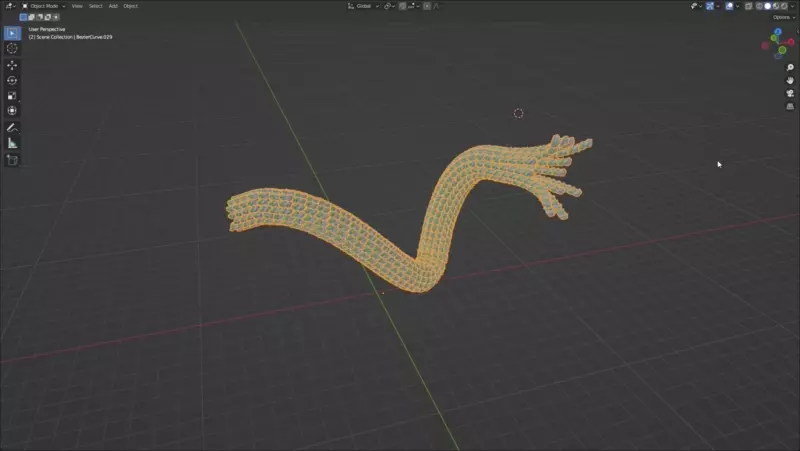
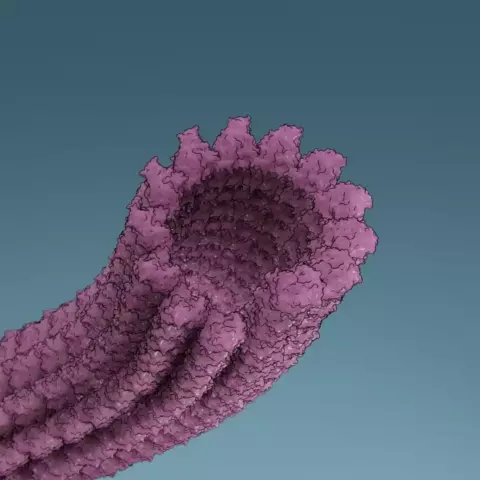
We then add the ‘flared’ tip of the microtubule. Keep in mind that at this point the splines are all overlapping (no tube yet).
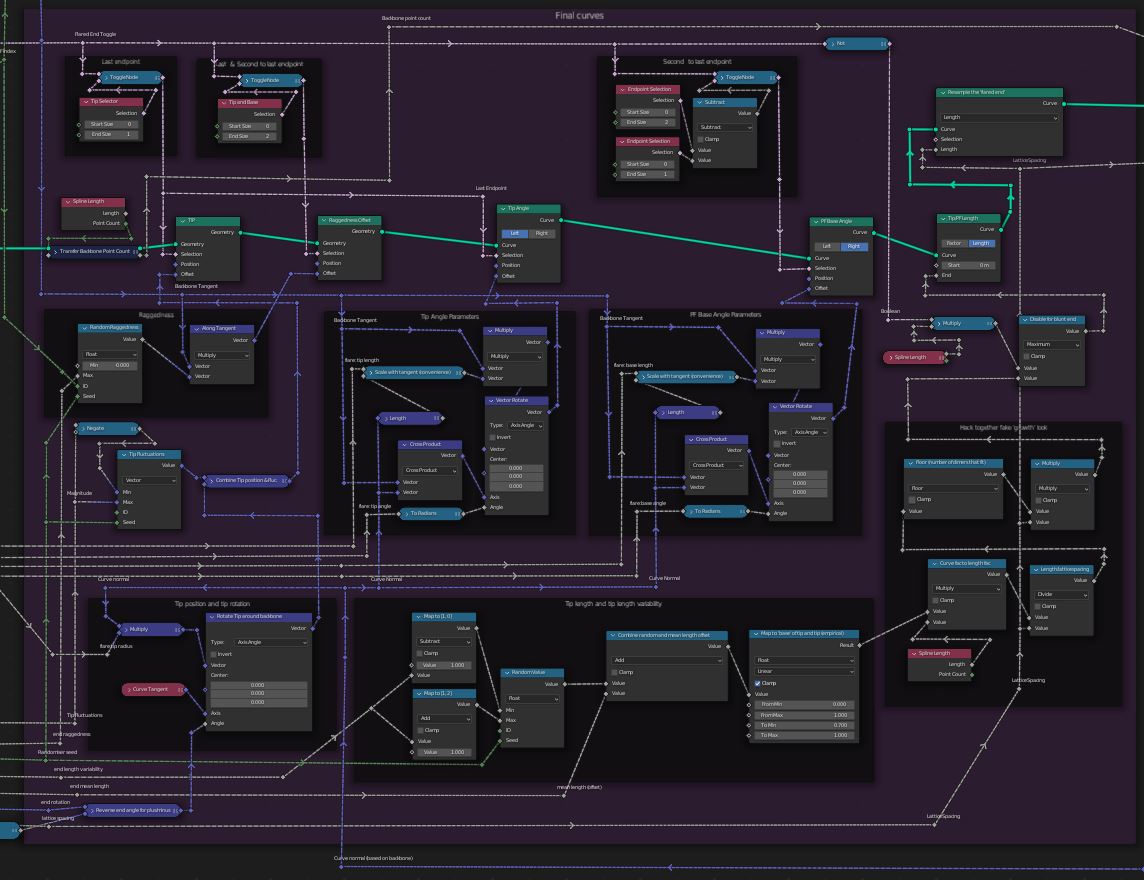
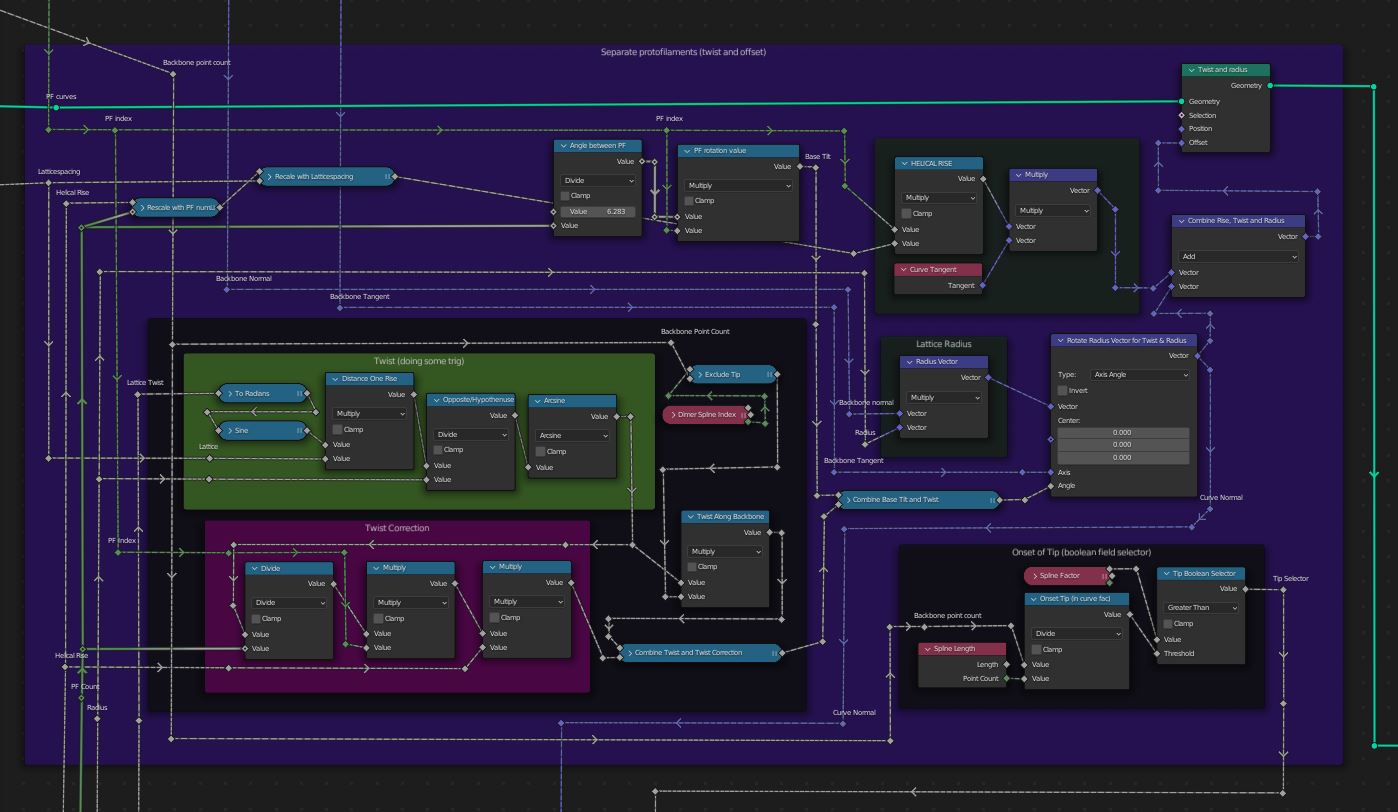
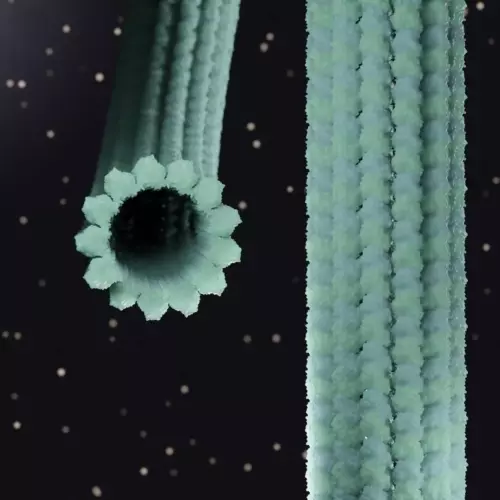
We then rotate and twist these splines around the backbone to make the hollow tube geometry
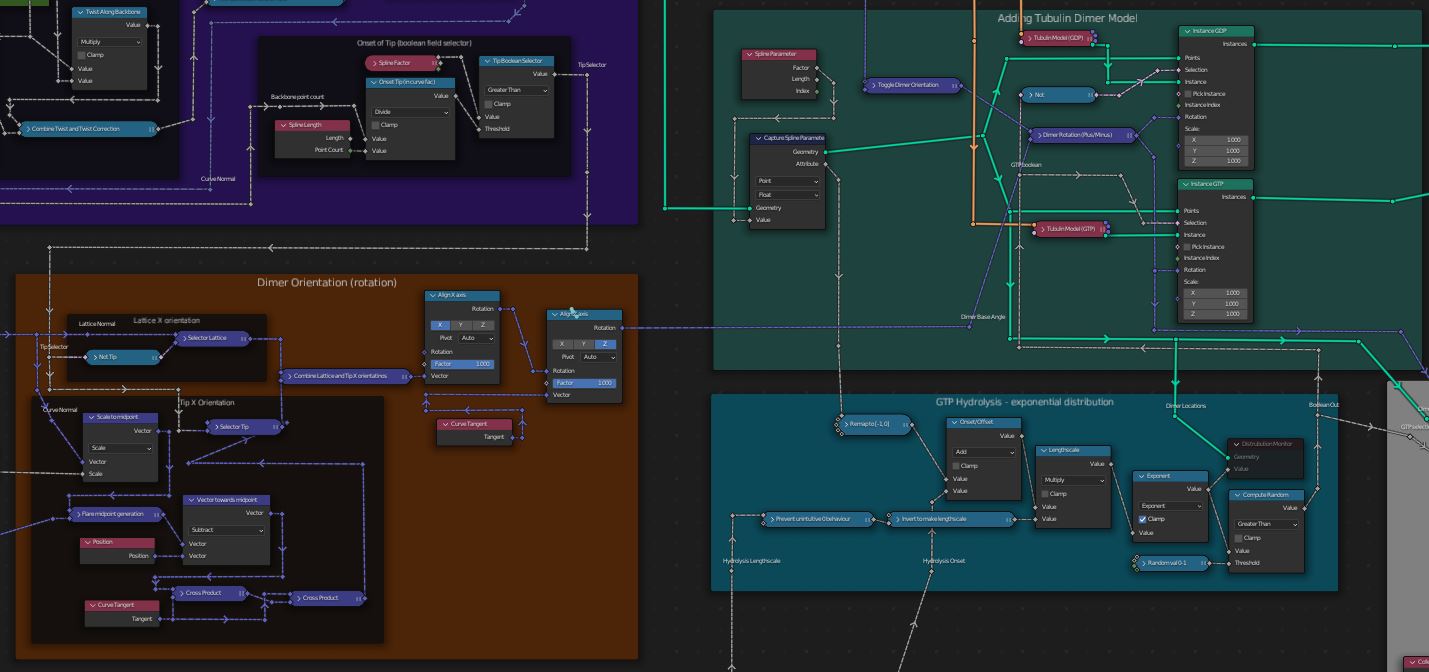
Finally we add the dimer model and the hydrolysis model. An area is left open for easy custom modification of the model (“maps & more”).
Demo videos
Spline Manipulation
Procedural Microtubule lattice
Procedural Microtubule tip
GTP Hydrolysis
Download
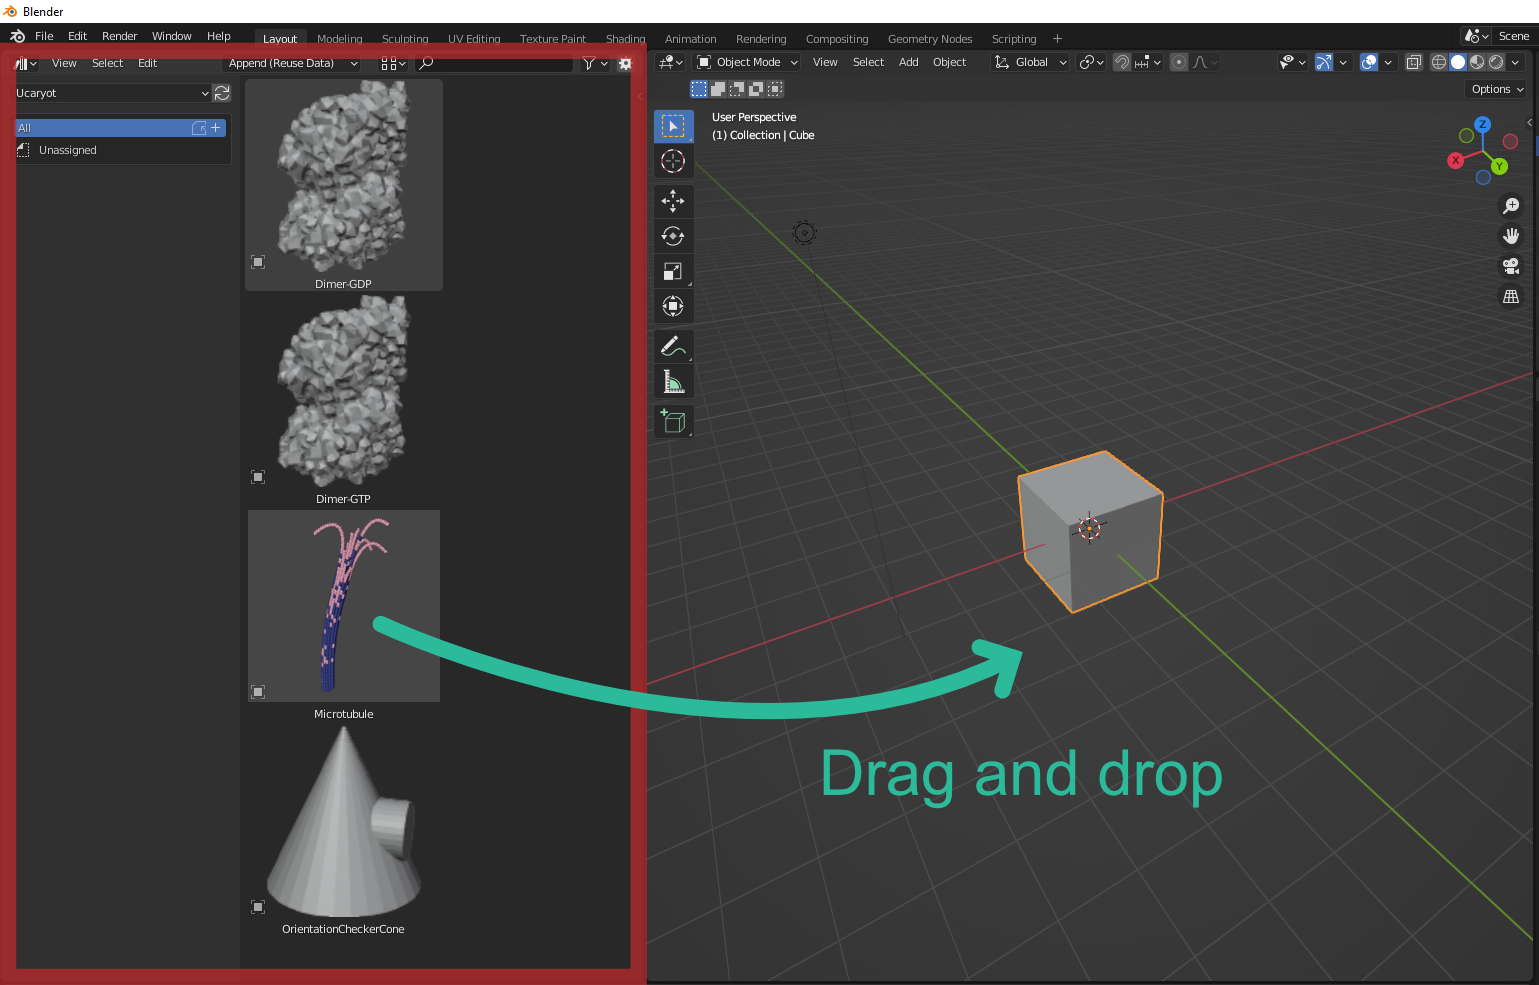
The geometry nodes setup and some tubulin models are available as an asset file. Blender 3.0 introduced the asset system and the asset browser, which makes using the node system as easy as drag and drop! You can watch a quick introduction video to get up to speed with that nice feature.
Download and Use instructions
- Make sure you have Blender 3.1 installed. This is (at the time of writing) still in beta.
- Download the microtubule asset file (
.blend). from gumroad and save it to whatever (stable) location you like. Consider making a separate directory where you save all your blender assets for convenience. Best to save it in its own directory. - Open a new file in blender, and go to
edit>preferences>file paths>asset librariesand add the location you stored the asset file in to the list. You only need to do this once. - Drag in a new
area(see the official blender docs for info) - Change its type to
Asset Browser - From the
Asset Browser, select the asset file you downloaded (you will have given it a name in step 2) - Now just drag and drop into your scene!
To get multiple microtubules, you should duplicate (
shift+d) the first microtubule you added to the scene, rather than dragging in it again from the asset library. The latter will create completely ‘independent’ copies, which is probably not what you want.
Changelog
- V1.2 More robust tip dimer orientation.
- V1.3 Added Bacterial Microtubule model (BtubAB)
- V1.4 (Sept 2022) Remeshed BtubAB model and added Preliminary PhuZ model (not yet accurate)